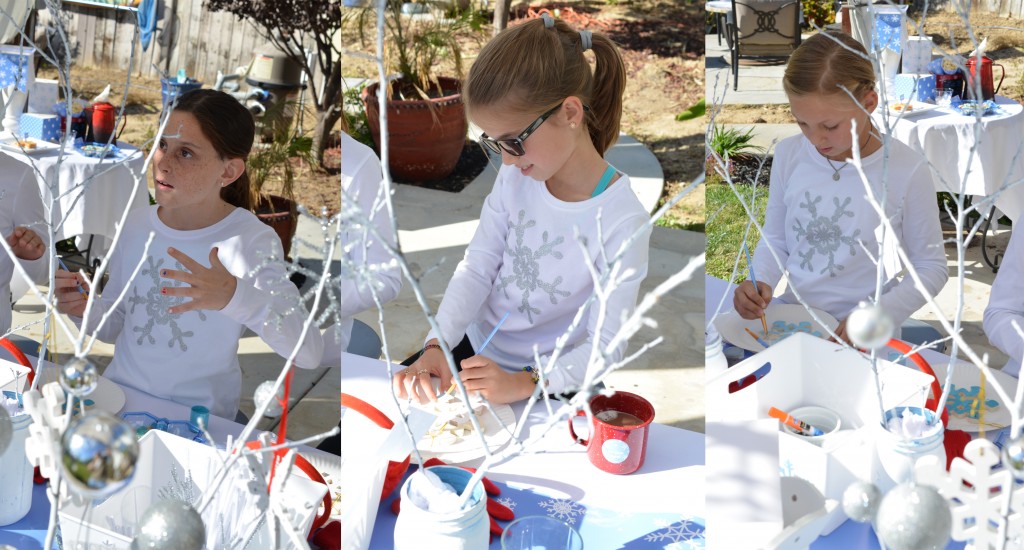
The Frozen Party will go down in the event world as one of the most popular themes. We decided to get our daughter, Brianna and her friends together for a spin on of the Frozen Party… Do you want to build a Snowflake was our theme…The only thing missing was cooler weather. Here in Southern California, the sun is always shining and there is no sign of snowflakes. We had a blast putting this Snowflake Party together. Brianna and her friends are already asking, what are going to celebrate next?
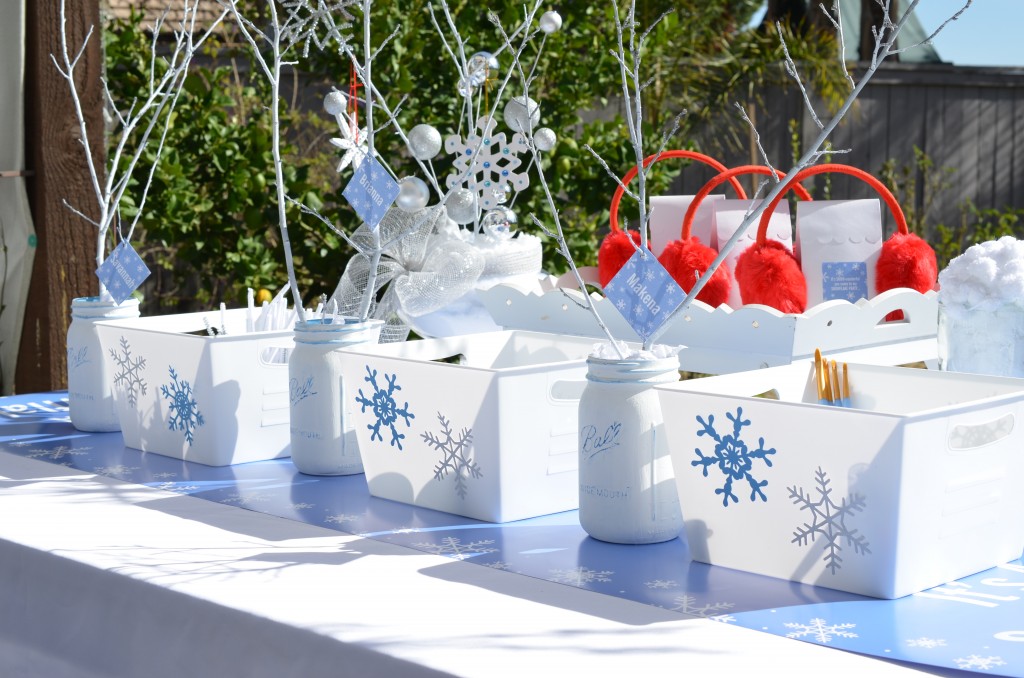
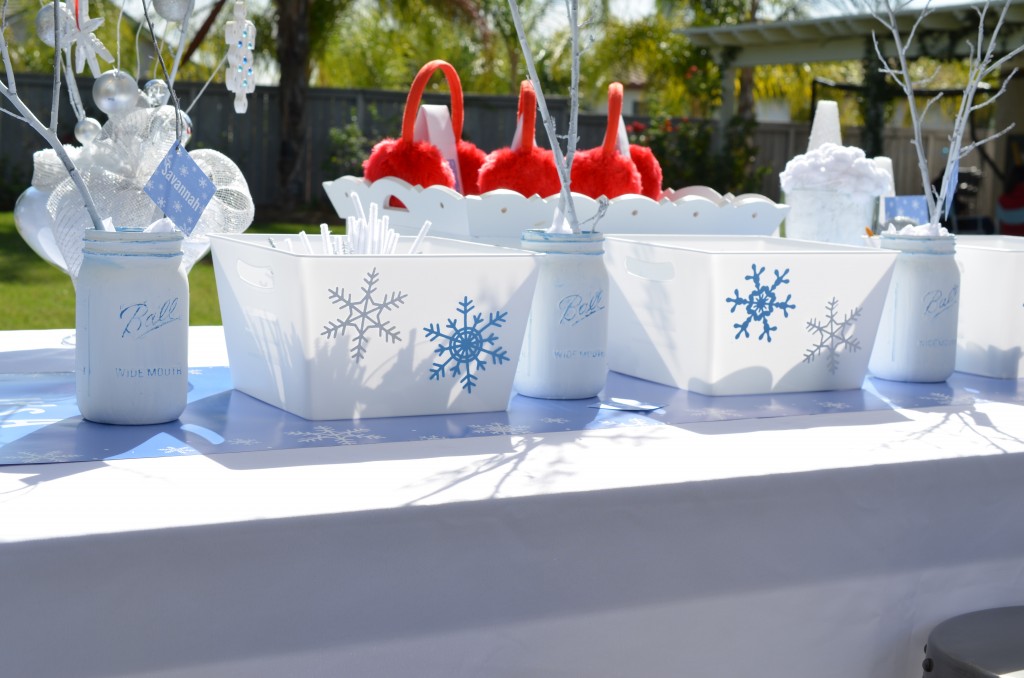
This party was filled with all things snowflakes. Our color scheme was White, Blue, Silver and a Pop of Red. If you are a “Party Specialist” you must invest in the Cricut Explore Machine. Our Snowflake Theme features three different shaped snowflakes. We used our Cricut Machine to cut them in blue and silver glitter paper. We decorated our white baskets from the Dollar Spot at Target with the cut-out snowflakes.
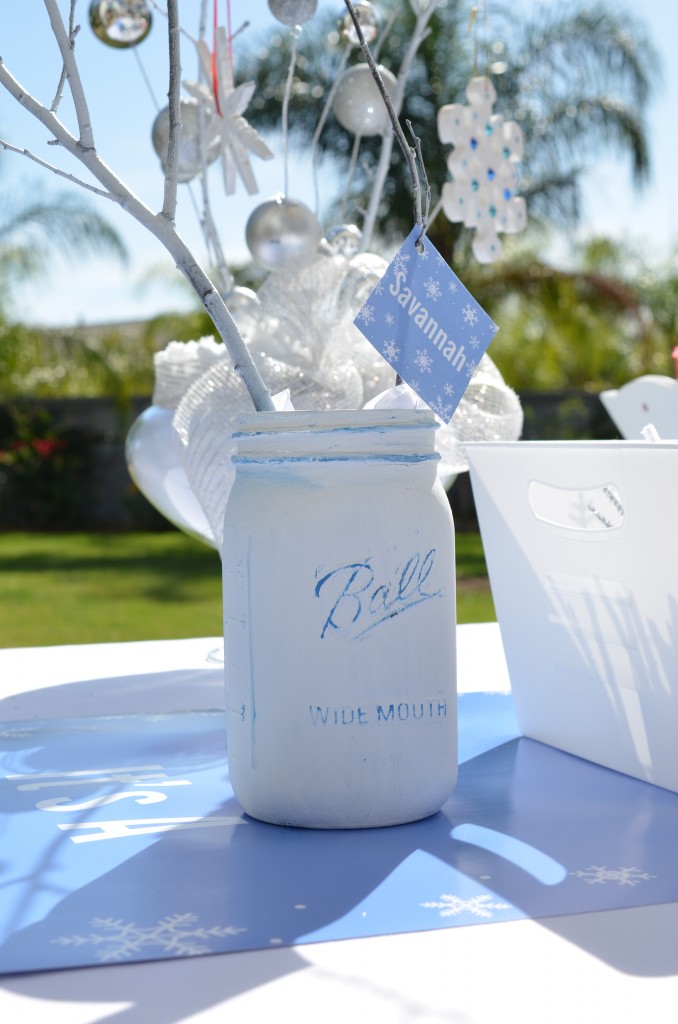
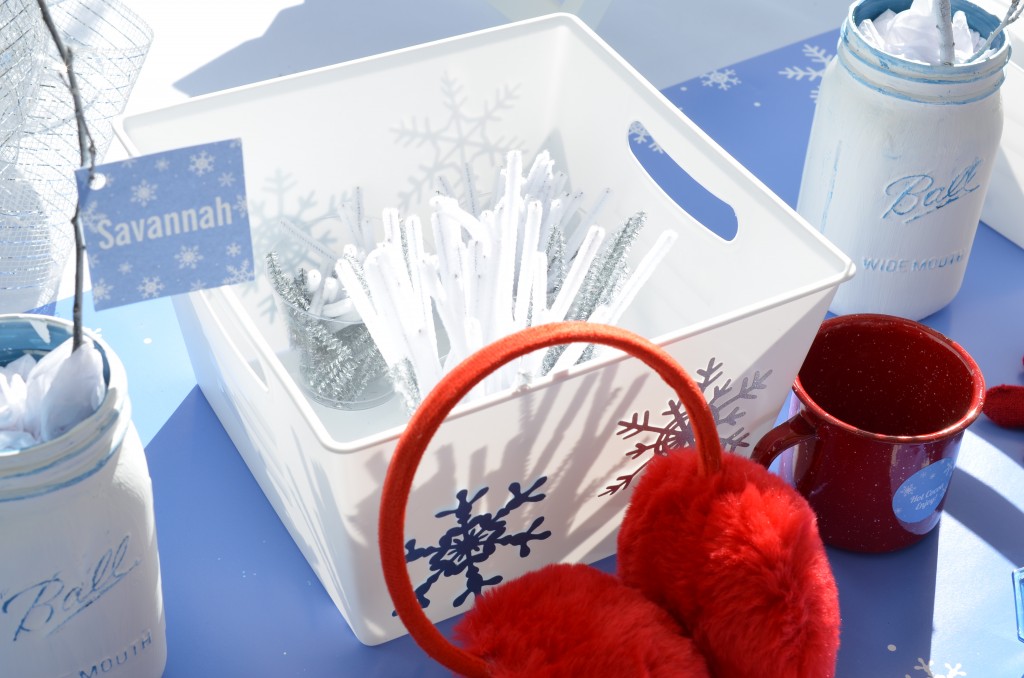
What’s a party without a mason jar. You can pick them up practically everywhere these days. We purchased from Americana Decor chalky finish paint. Hobby Lobby had Legacy (Blue) and Everlasting (White) which went perfect for our mason jars. Blue was painted on first followed by white. Before the white was fully dried we took a light sand paper to expose the blue base. We then took some branches from our cherry tree and spray painted them white and placed them in the jar with tissue paper to secure the branch. Hanging from the branch was our Two Inch Personalized Snowflake Tag with the girls names on them.
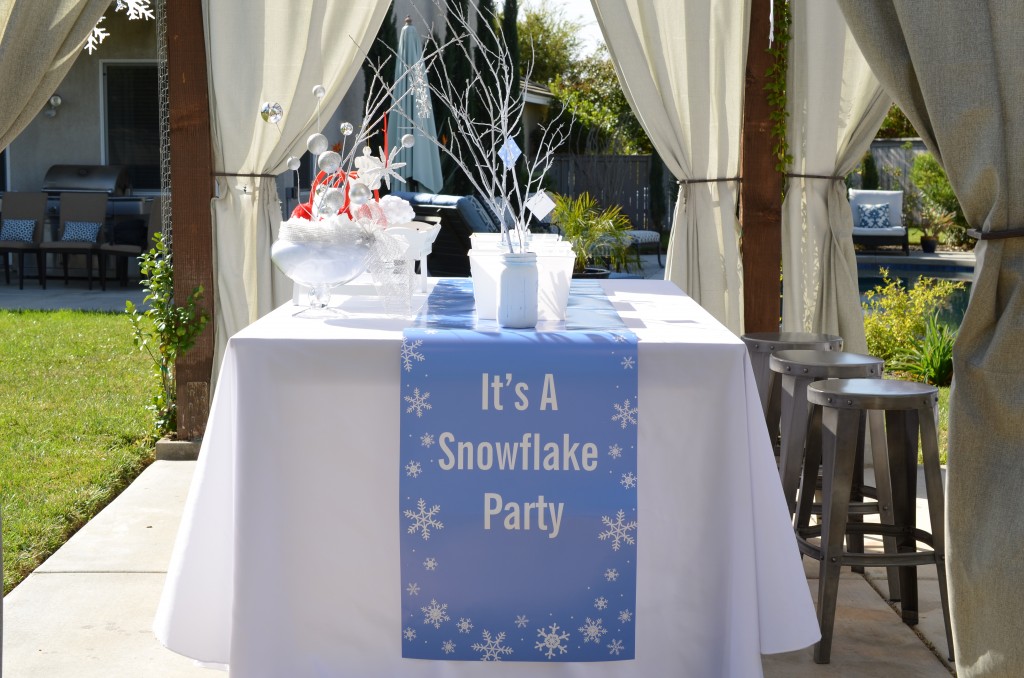
Center stage down the table we used our Snowflakes Banner as a table runner. This blue runner broke up all the white and silver going on at the table.
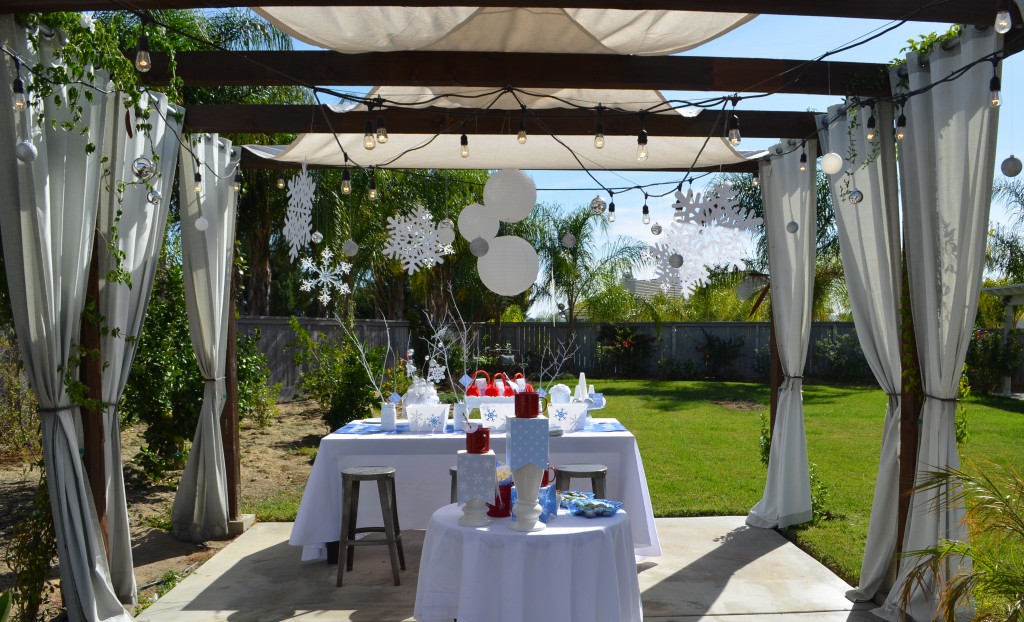
Although it would have been great to have real snow coming down we did the next best thing. We purchased various snowflakes from the Dollar Store and hung them from the pergola with clear wire. We also purchased a container of white and silver Christmas balls and hung them all around the perimeter.
The activities we chose were unique… We didn’t go for the traditional paper snowflakes… We wanted the girls to use their creative side.
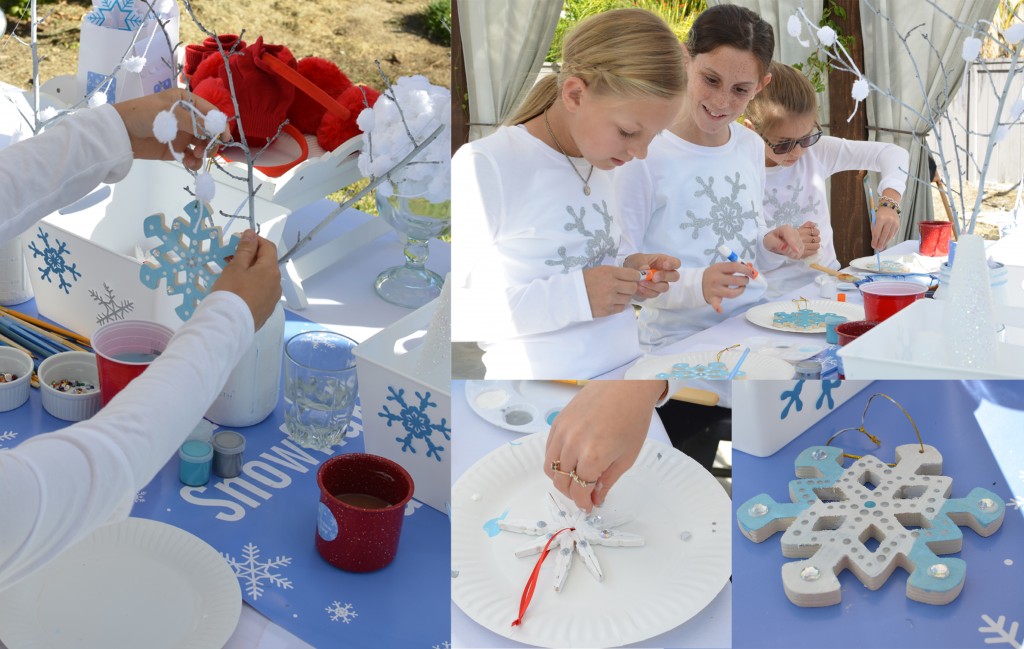
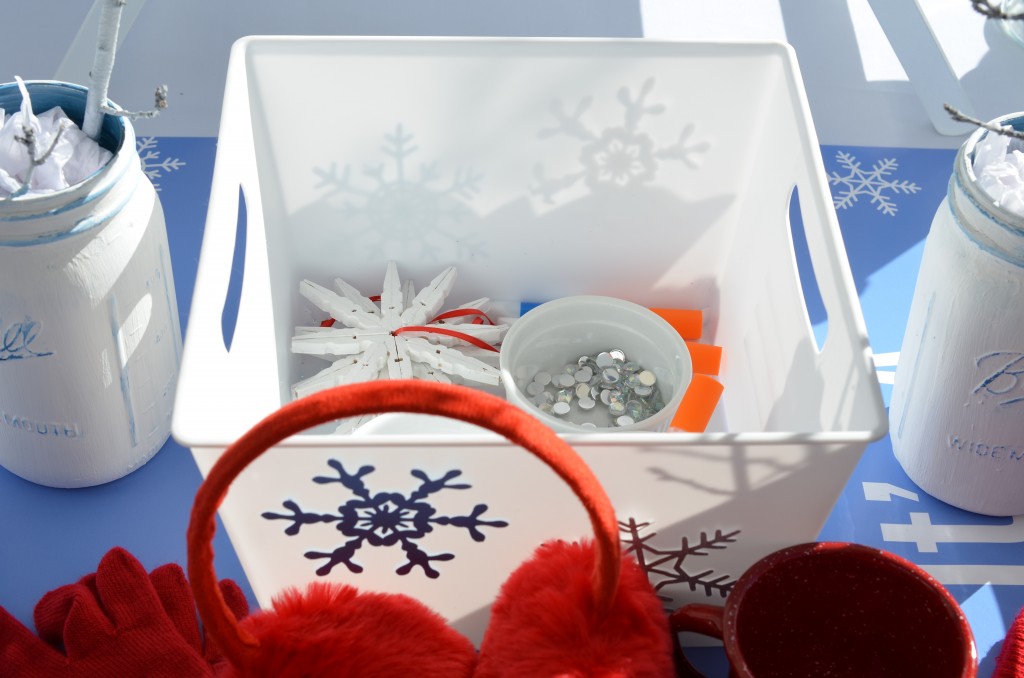
First up was our clothespin snowflakes. We purchase small clothespins from Hobby Lobby and took them apart and glued the backs together. Each snowflake needed 8 clothespins which were then hot glued together to form a star. We went ahead and painted them white and glued a red ribbon to them. We provided Elmer glue sticks and rhinestones for the girls to decorate them. Super fun project!!!
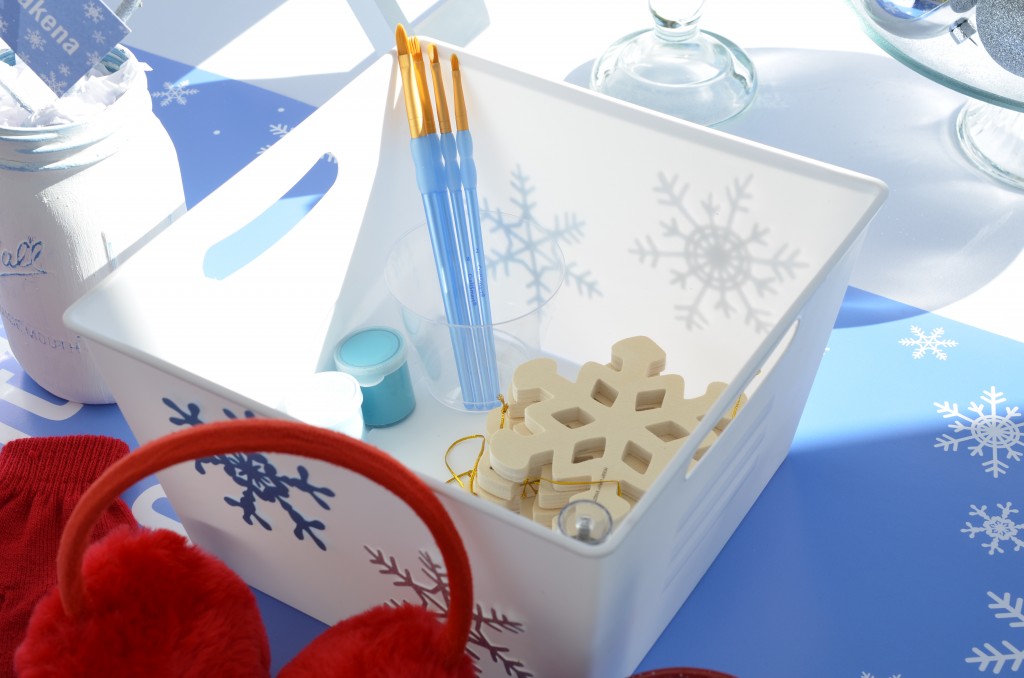
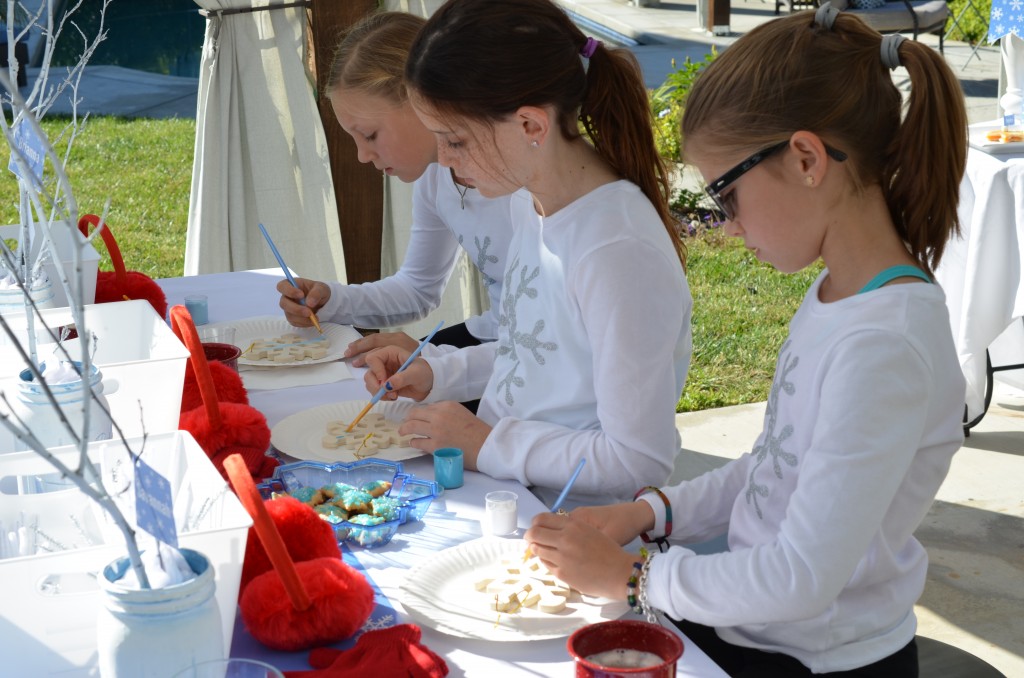
Next we purchased snowflake wooden ornaments from Hobby Lobby. We had four different acrylic paint colors, glitter glue and a set of paint brushes in the basket. After they painted them they decided rhinestones were a must for the final touch..
Lastly the hardest project for the girls. Pipe cleaners in white and silver were cut in three sizes… 6 inch, 2.5 inch and 2 inches. The girls had to create a snowflake from the pipe cleaners. Actually we found these at Hobby Lobby and the correct product name is Chenille Stems. We have been calling them wrong our whole life, oh well!!!
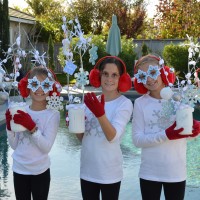
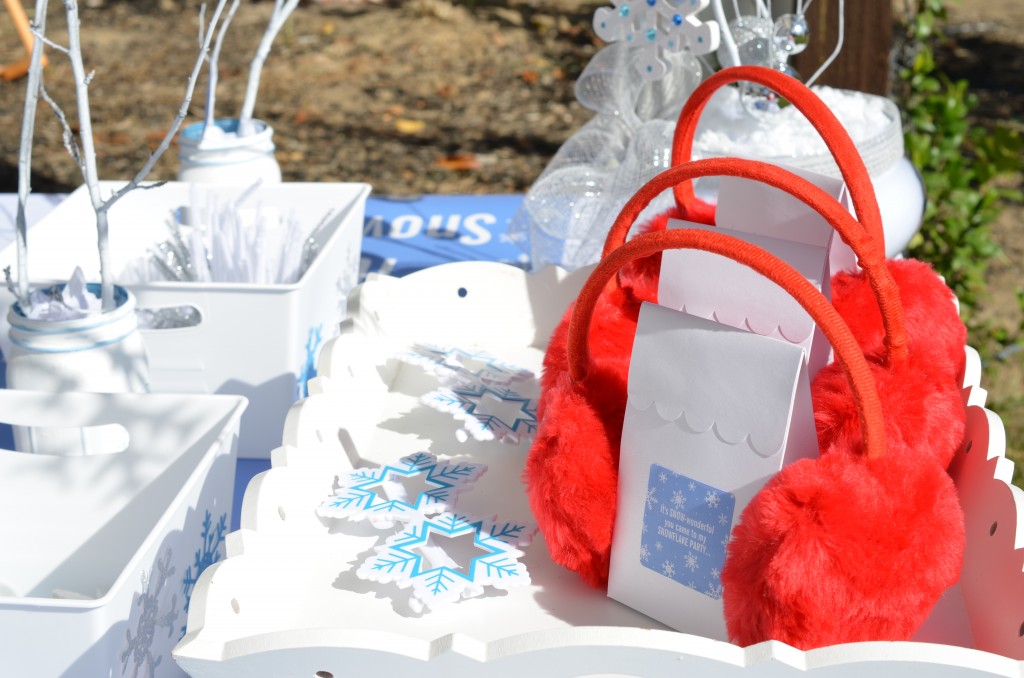
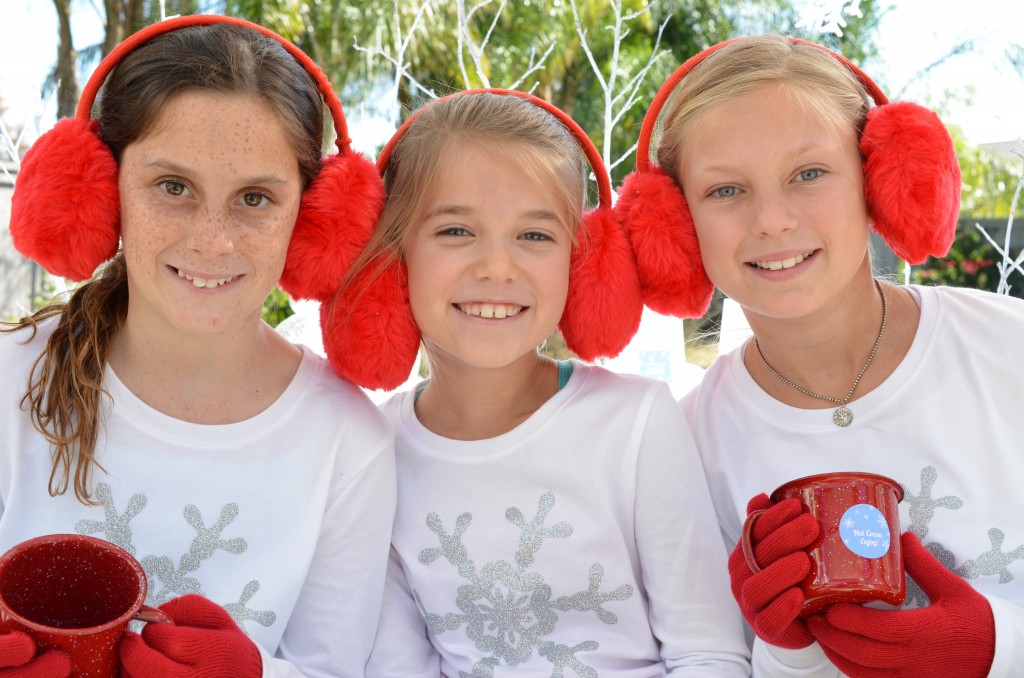
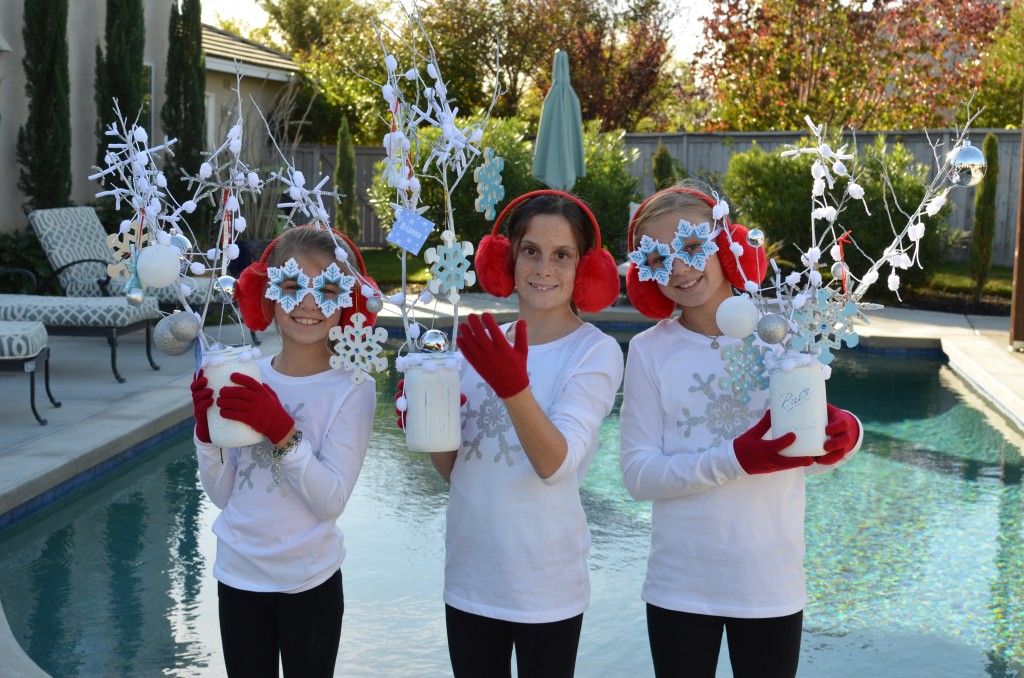
Even though the mason jar was their gift we still wanted them to be surprised and open something during the party. We used our Snowflakes Candy Boxes and filled them with red mittens and red earmuffs. We also found these cute snowflake glasses at the Dollar Spot at Target.
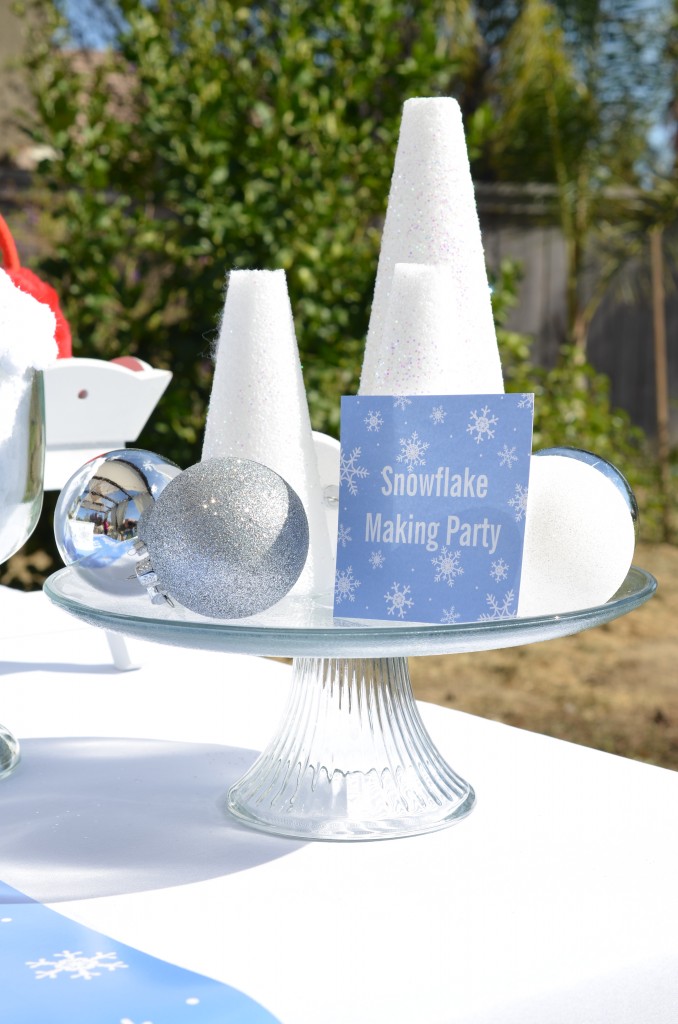
We printed an extra large tag and leaned it up against three styrofoam cones that we mod podged and painted glitter on. That completed the table for our Build A Snowflake Party.
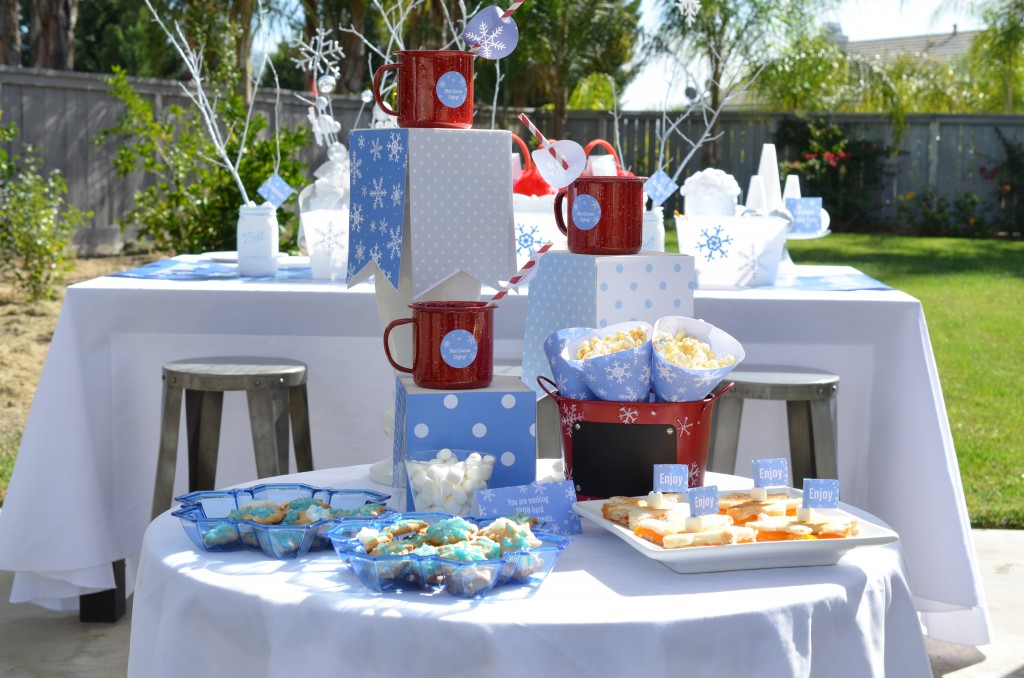
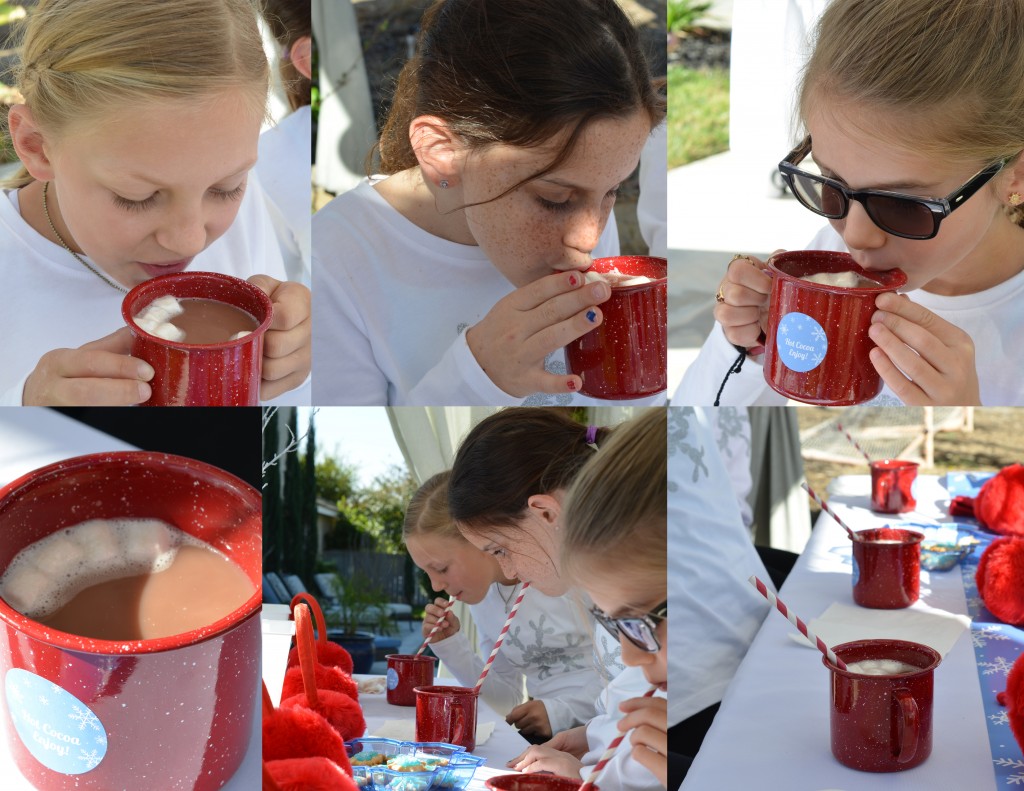
What’s a party without food and hot cocoa? A boring party with hungry kids….We had a small table of food, deserts and hot cocoa. We placed a 1.67 round snowflakes sticker on the red mugs.
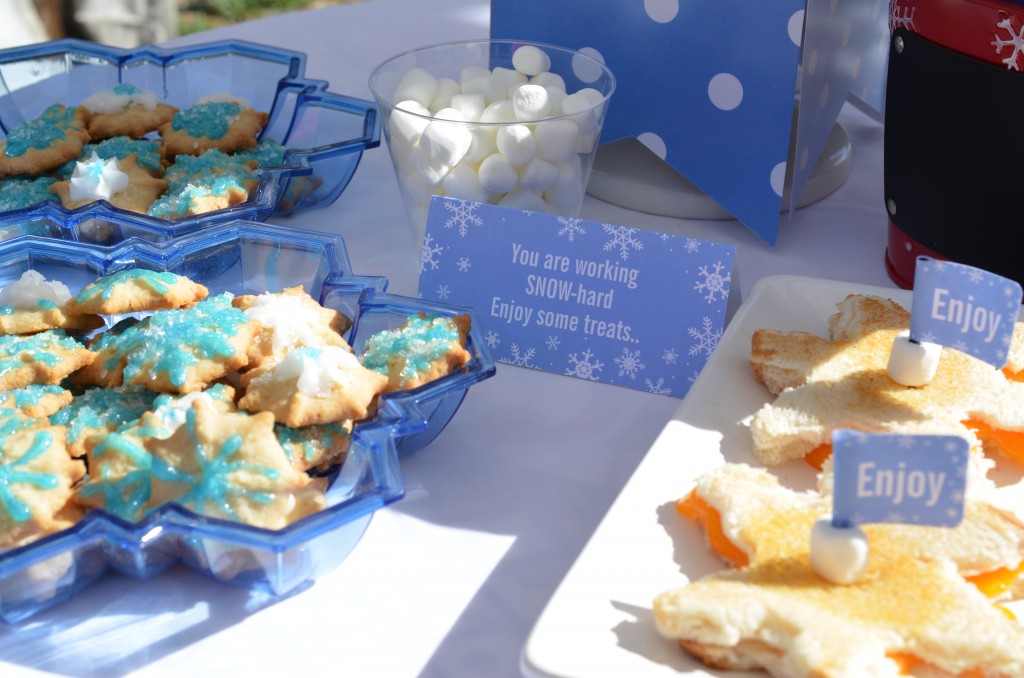
The snowflakes place card on the table reads ” You are working snoow-hard..Enjoy some treats”. Some other cool sayings would be for a thank you card and it would read “Thank You Snoow Much”. Or for a candy bar wrapper favor, have it read ” It was Snoow-Wonderful for you to come to my party”.
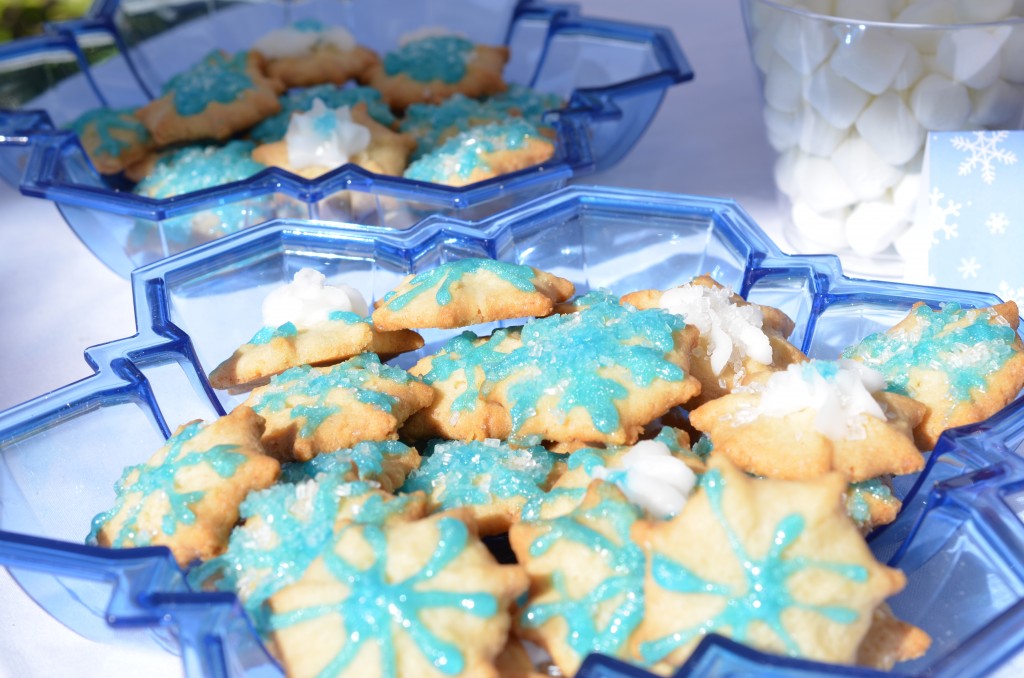
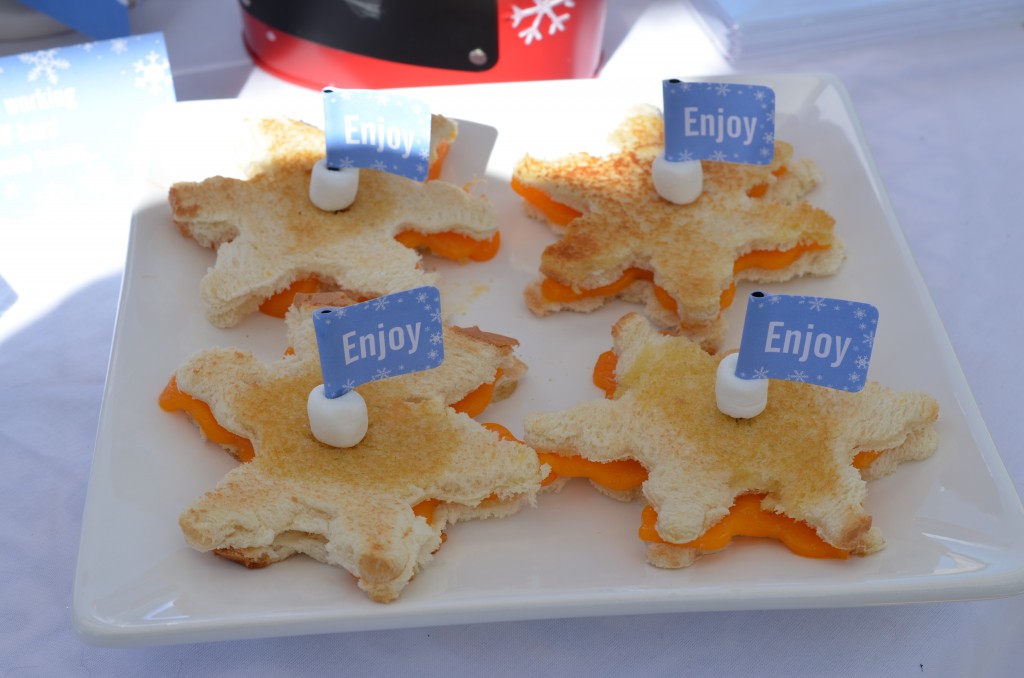
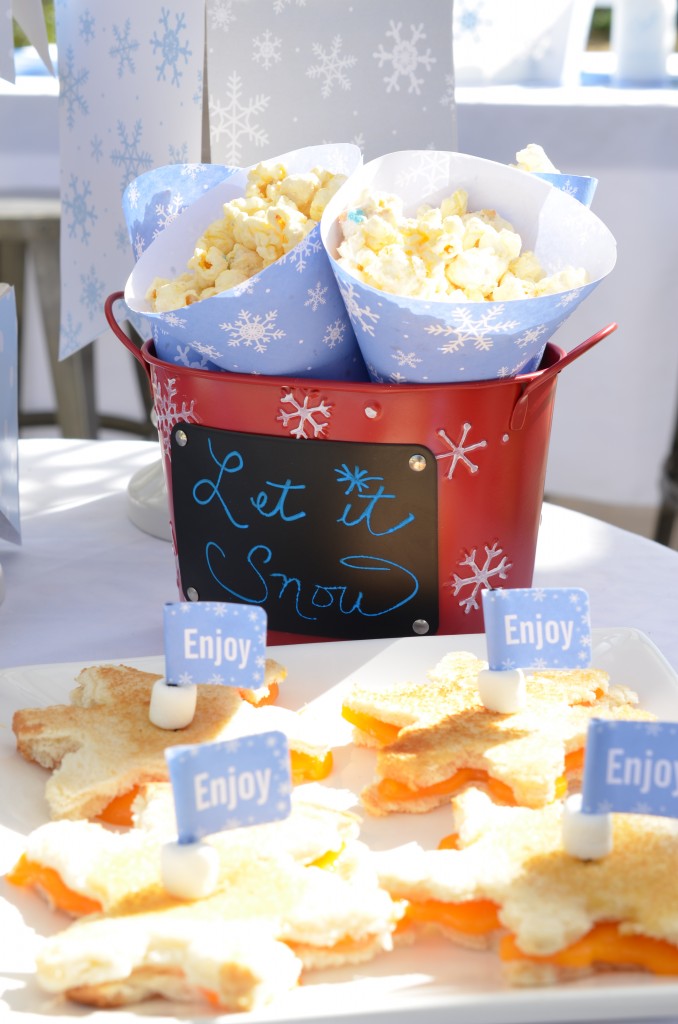
The Dollar Store had these awesome blue snowflake trays and they were perfect for our snowflake butter cookies. We also used a snowflake cookie cutter and made grilled cheese sandwiches and topped it off with our Snowflakes Return Address Labels.
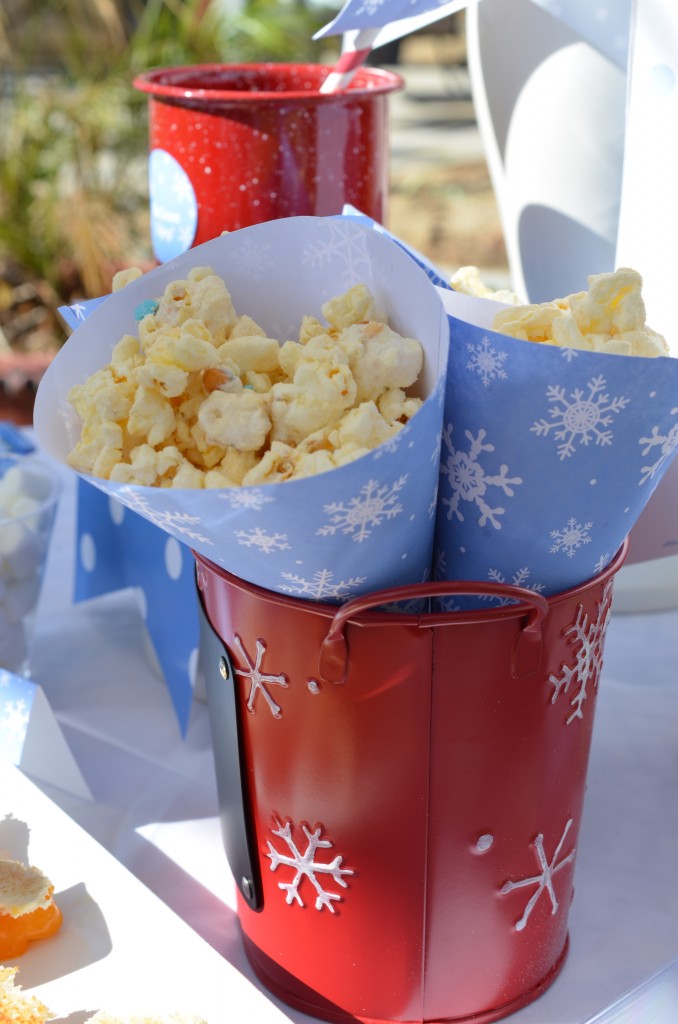
Michaels Craft Store had the perfect container for our white chocolate drizzle popcorn… Snow cone templates will be available in our store soon for download.
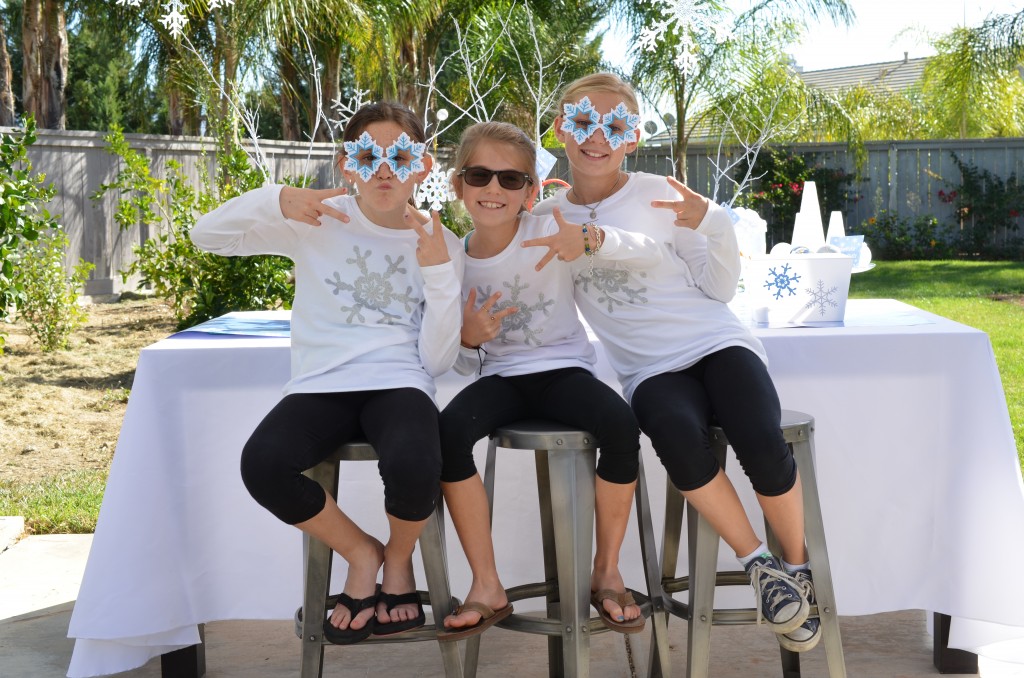
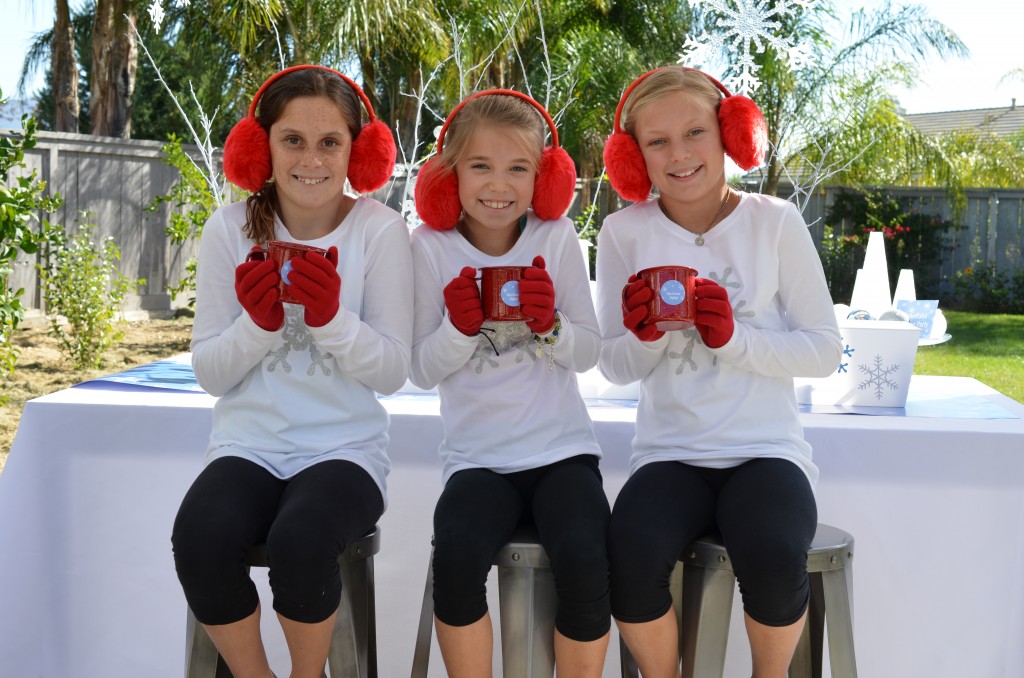
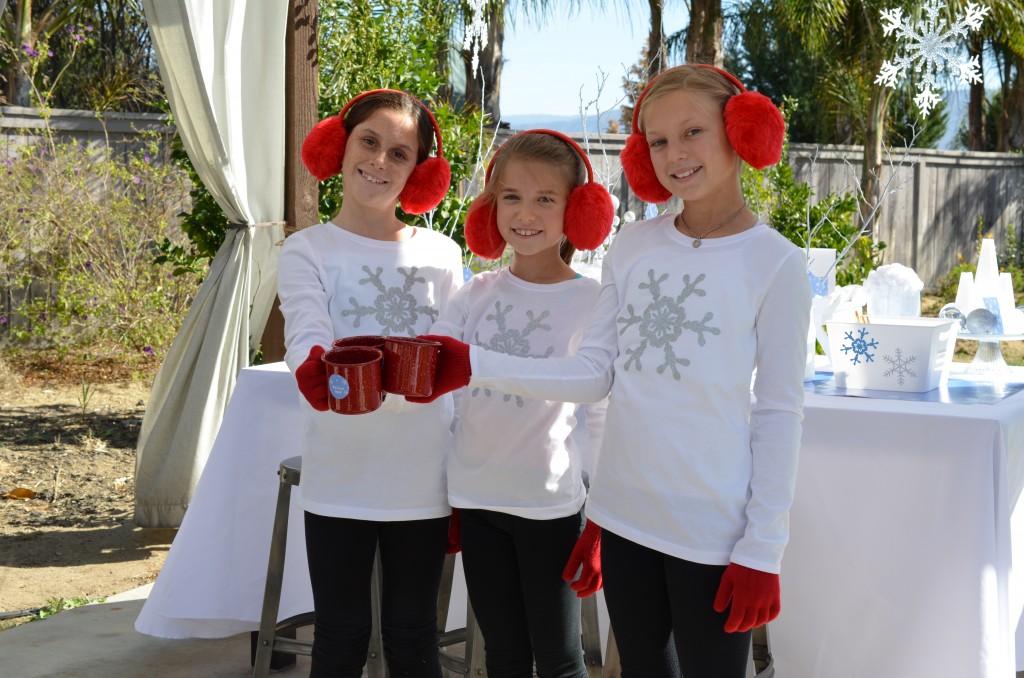
Brianna and her friends are ready to Build Some Snowflakes, but first some pictures of course. We purchased white long sleeve shirts from Target and used our snowflake design and created these amazing shirts. The Cricut Explore made this possible and the iron-on was so easy to do.
We used our red camping mugs for the hot cocoa. We think these girls are beautiful. Love that they all are wearing matching items…
The girls are hard at work with their Snowflakes. We used a white tablecloth which now we realized was a bad idea since the paint did not wash off.. We suggest using white butcher paper instead. That makes clean up really easy.
Well I have to tell you this party was a big success. The kids had such an SNOW-MAZING time. Didn’t their final product come out great? We added some puffy yarn around the branches to look like snowballs. Now we just need a famous artist to sing a song called “Do you want to build a snowflake?”

